If you've ever tried to stick a card reader to a glass counter and watched it slide off an hour later, you already know why this topic deserves its own guide. Glass counters look great in retail stores, salons, and reception areas, but they're not exactly forgiving when it comes to mounting hardware. Drill into glass and you risk cracking a costly countertop.
That's where a proper glass counter POS mount comes in. The right adhesive mount protects your glass, keeps your checkout line moving, and looks a lot more professional than a terminal held together with tape and hope.
If you want to install a payment terminal without drilling into an expensive countertop, an adhesive-based setup is really your only sensible option. This guide walks you through everything you need to know to mount a credit card machine stand on a glass counter the right way, from prep work to troubleshooting.
Yes, you can mount a credit card machine stand on a glass counter, and you don't need to drill a single hole to do it. Industrial adhesive mounts are built for smooth, non-porous surfaces like glass, so they're the standard solution here.
Drilling isn't recommended on glass counters for one obvious reason: glass cracks, even tempered glass. A high-strength adhesive POS mount avoids that risk entirely while still holding the terminal firmly in place, whether you need to mount a credit card machine on a jewelry counter, a café register, or a salon reception desk. That's why a drill-free glass counter POS mount is the best way to install a payment terminal without drilling in retail stores, salons, cafés, hotels, pharmacies, and reception areas.
Recommended Read: What Are ADA Mounting Heights for Credit Card Stands?

Before you start, gather everything so you're not hunting for supplies mid-installation. Here's your checklist:
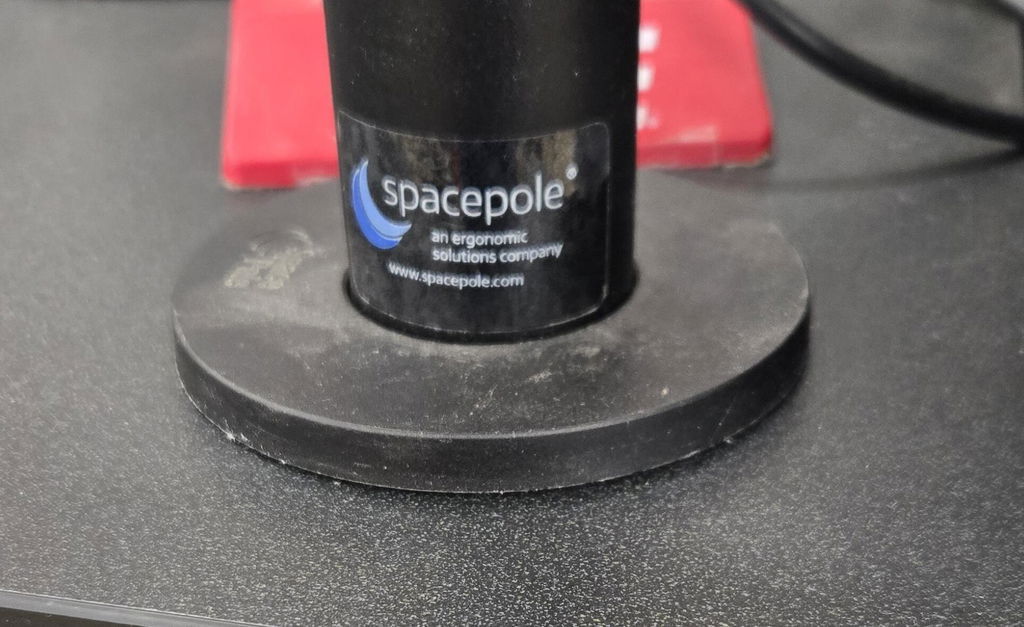
Credit card machine stand the mounting hardware itself
Compatible payment terminal confirm the model fits your stand
Industrial adhesive (3M VHB tape or an equivalent commercial-grade adhesive)
Alcohol wipes for cleaning the glass
Microfiber cloth to dry and buff the surface
Measuring tape for positioning
Painter's tape to mark your mounting spot
Cable clips or a cable organizer to keep wiring tidy
The adhesive is what actually holds your payment terminal holder to the glass long-term, so skipping the industrial-grade version for a cheaper tape is where most installations fail.
Clean it with alcohol wipes first, since any grease or residue weakens the bond. Universal credit card machine stands typically fit Square, Clover, Verifone, Ingenico, PAX, and Dejavoo, but always confirm your model before you mount the credit card hardware in place.
When mounting a credit card machine stand on a glass counter, proper preparation is the most important step. The best adhesive, however, will not perform well if the glass surface is dirty, uneven, or poorly positioned.
A little more time spent cleaning the counter, choosing the right spot, and checking the glass makes a big difference in forming a strong, lasting bond. Plus, it prevents the stand from shifting. loosening or failing over time, so your payment terminal stays secure for you and your customers.
Wipe away dirt, grease, fingerprints, and dust with isopropyl alcohol. Let the surface dry completely before touching it again. Any leftover residue will weaken the adhesive bond, so this step isn't optional it's the difference between a mount that lasts and one that peels off in a week.
Pick a spot that's easy for customers to reach and comfortable for your cashier to operate. You'll also want room for the terminal cable to run without stretching or pulling. Avoid mounting too close to the counter's edge, since that puts extra stress on the adhesive bond over time.
Check that the glass is flat, undamaged, and free of chips or cracks. Confirm the countertop itself is stable and won't wobble under normal use. If your stand swivels or rotates, make sure there's enough clearance around it before you install payment terminal without drilling into anything a good glass counter POS mount needs room to move without catching on nearby fixtures.
Recommended Read: How to Extend the Lifespan of Your POS Mount by Hilipro?
Once your surface is prepped, here's exactly how to mount a credit card machine on glass without any guesswork.
Place the stand on the counter before peeling off any adhesive backing. Confirm it's within easy reach for customers and comfortable for your cashier. Check that the cable can route cleanly to your register or power source.
Remove the protective backing from the adhesive pad. Align it carefully with your marked position, since most industrial adhesives bond on contact and don't allow for repositioning. Press down firmly and evenly across the entire surface.
Hold the stand in place for the time recommended by your adhesive's instructions. Make sure the base has full, even contact with the glass, with no air pockets or gaps. A well-seated payment terminal holder should sit flat before you move on.
This is the step people rush, and it's the one that causes the most failures. Most adhesives need at least 24 hours to bond properly, and some manufacturers recommend waiting up to 72 hours for a full cure. Attaching the terminal too early puts weight on a bond that hasn't fully set, which shortens its lifespan.
Once the adhesive has cured, install the payment terminal onto the stand. Lock or secure it according to the manufacturer's instructions if your model requires it. Give it a gentle test to check for movement or wobble a properly seated payment terminal holder shouldn't shift at all.
Route the cables neatly using cable clips so nothing dangles across the counter. This reduces strain on the connectors and keeps your checkout area looking organized rather than cluttered. A tidy setup also makes it easier to spot cable wear before it becomes a problem, and it's the finishing touch that makes a payment terminal holder look like it was built into the counter from day one.
Recommended Read: Secure Stands: Why Your Credit Card Terminal Mount Matters
Most mistakes in glass counter installation come down to rushing one of the steps above, and each one chips away at what should be a secure POS stand for glass counters. Here's what to watch for:
Mounting on a dirty surface residue weakens the bond before it even sets
Using low-quality adhesive cheap tape can't handle the daily wear of a busy counter
Ignoring curing time attaching the terminal too soon undermines the whole installation
Applying uneven pressure creates weak spots and air pockets in the bond
Mounting too close to the counter edge adds stress that can peel the adhesive over time
Poor cable management strains connectors and creates a tripping or snagging hazard
Installing on damaged glass chips and cracks compromise the adhesive's grip
Skipping compatibility checks not every terminal fits every stand, so verify first
A POS stand won't stick to glass because of one of these mistakes far more often than a faulty adhesive POS mount.
Even a solid adhesive POS mount runs into the occasional snag. Here's how to diagnose and fix the most common ones:
|
Problem |
Root Cause |
Professional Solution |
|
The stand fails to stick or lifts completely |
Surface contamination or grease residue on the glass. |
Remove the old adhesive, clean the glass thoroughly with pure isopropyl alcohol, and apply a fresh piece of industrial 3M VHB tape. |
|
Adhesive edges lifting over time |
Inadequate initial pressure or exposure to extreme temperatures/harsh chemical cleaners. |
Replace the adhesive pad. Ensure you apply firm, even pressure for 60 seconds during installation and keep liquid cleaners away from the seam. |
|
Stand wobbles during transactions |
Air pockets trapped under the adhesive pad during initial placement. |
Remove the mount, ensure the glass is perfectly flat, and carefully drop the new adhesive pad from one side to the other to avoid trapping air. |
|
The terminal moves independently of the stand. |
Loose mounting brackets or incorrect unit compatibility. |
Check the stand's mechanical connections and verify the hardware matches your specific terminal model. |
If your POS stand won't stick to glass, the issue is almost always surface prep, not the hardware. A fresh alcohol wipe fixes it more often than a replacement adhesive does.
Recommended Read: The Complete Guide to Credit Card Terminal Stands & Mounts (2026)
A secure POS stand for glass counters doesn't stay secure on its own it needs a little upkeep. Build these habits into your regular maintenance routine:
Inspect the adhesive periodically for signs of lifting or wear
Clean around the mount without soaking the adhesive itself
Avoid applying excessive force when adjusting or swiveling the terminal
Keep cables loose enough to prevent strain on the connection
Follow your stand manufacturer's maintenance recommendations
Replace worn adhesive promptly instead of waiting for a full failure
Treat this as an ongoing habit rather than a one-time install, and a single adhesive POS mount will give you years of use that's what makes a secure POS stand for glass counters worth the effort.
Mounting a credit card machine stand on a glass counter isn't complicated once you know the process. Clean the surface, choose a sensible location, apply the adhesive with care, and give it time to cure before putting weight on it. Skip that last part, and you'll be reinstalling within a week.
You don't need to drill or damage your countertop to install a payment terminal without drilling and get a stable result. The right glass counter POS mount, paired with a little routine maintenance, gives you a secure POS stand for glass counters that staff never have to think about.
Need a reliable mounting solution for your payment terminal? Explore Hilipro's credit card machine stands, designed for secure, professional installation on glass counters and other commercial checkout surfaces. Contact Hilipro today to purchase credit card machine stands.
Yes. A commercial-grade adhesive mount is the best way to attach a POS stand to tempered glass without drilling. This is still the easiest way to mount a credit card machine to any glass surface.
3M VHB tape and other industrial acrylic adhesives provide a strong, long-lasting bond when properly applied to clean, smooth glass surfaces.
Most adhesives require at least 24 hours to set securely, although some manufacturers recommend allowing up to 72 hours for full curing and maximum bond strength.
High-quality adhesive tapes designed for smooth surfaces generally do not damage glass countertops when they are removed correctly.
Once the adhesive has fully cured, the stand should not be repositioned. If you need to relocate it, remove it carefully and install it again using a new adhesive pad.
Universal POS stands are typically compatible with Square, Clover, Verifone, Ingenico, PAX, and Dejavoo payment terminals. Always verify compatibility with your specific terminal model before purchasing.
Yes. Commercial-grade adhesive mounting systems are designed to provide reliable performance in busy retail environments with frequent customer use.
Dirt, grease, moisture, insufficient installation pressure, or low-quality adhesive are the most common causes. If the stand still doesn't adhere after reinstalling it, ensure the adhesive is specifically rated for glass surfaces.